Photography workflow on Linux

Recently I acquired a Nikon D7100 DSLR. With this nice camera I was able to shoot in RAW (uncompressed and unprocessed photo file format) and I needed a good editing tool for those files. Since these files come unprocessed from the camera’s sensor, I need to do the photo editing like setting the contrast, color tones, sharpness etc. on my computer. As you might guess there aren’t many programs for photo editing on Linux on the market. Some of them are open source and some proprietary. However the choice is very limited.

For my photography workflow I need programs for things like

  • organizing & minimal editing (eg. resizing)
  • editing RAW’s
  • creating HDR’s (high dynamic range)

Organizing & minimal editing

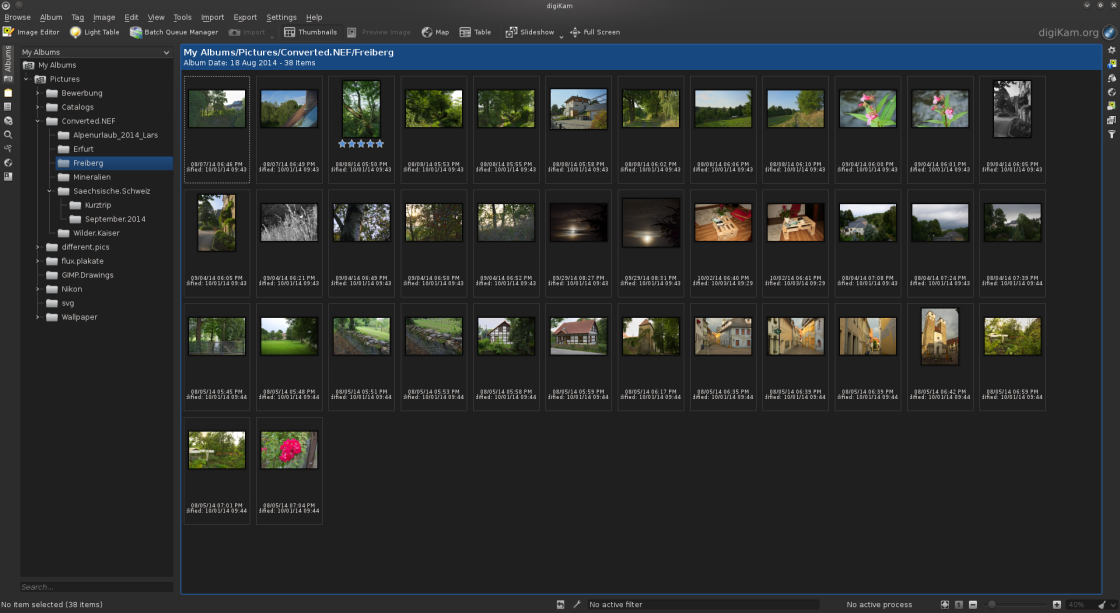
An open source tool for organizing photos is KDE’s digiKam. I can create albums for sets of photos, rate them and do some editing, resizing as well. I can look at pictures taken at different locations (GPS map) or dates (calendar) and the program sorts them accordingly. digiKam not only lets me view JPG but also RAW files and with this program I can easily download the pictures from my camera.
screen_digikam
KDE’s photo editing software “digiKam”

Editing RAW’s

For RAW editing I currently use two. One is the proprietary program “Corel AfterShot Pro 2” and the second one is the open source alternative “RawTherapee”. Both have many features for editing RAW and I get really great pictures with both of them. Also a rating and sorting / tagging feature can be found in both.

“Corel AfterShot Pro 2” may have some better sorting mechanisms and algorithms for editing sharpness of the photo. However someone can also create awesome shots with “RawTherapee”. I for example find the queue manager better in the open source program. However I like them both and since “Corel AfterShot Pro 2” is also available on Linux for around 50€ I can and will use them both. Another thing is that a HDR editing feature will come out soon. This gives me a program for sorting, editing and creating HDR’s all in one.
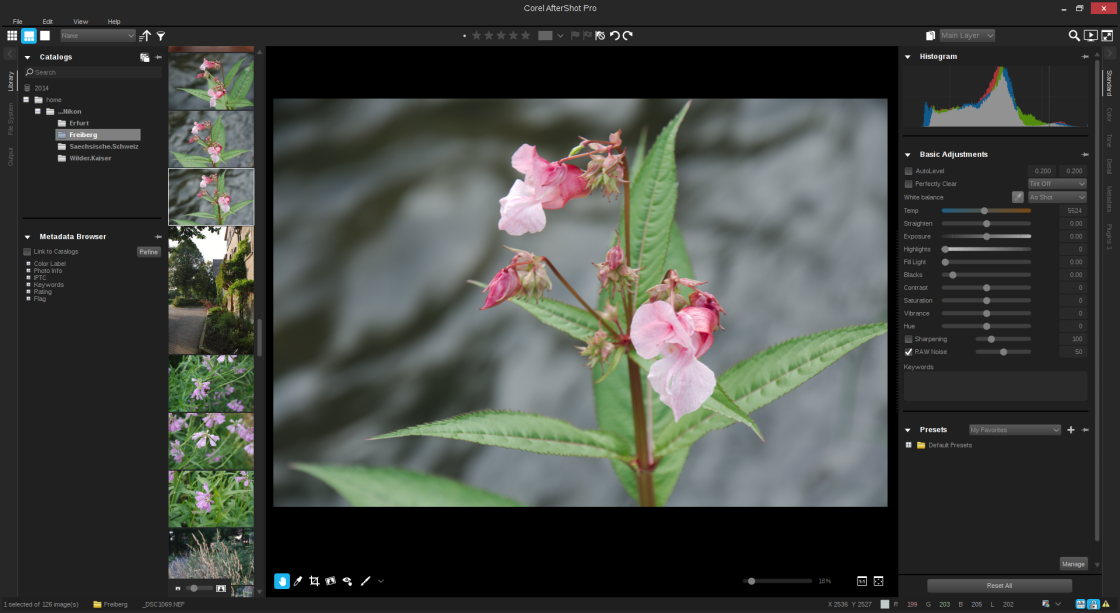
Corel AfterShot Pro 2. Property of Corel.

Creating HDR’s

A real HDR is created by stacking several photos of different exposures together to create a final photo with high contrasts in shadow as well as bright areas. An open source tool for that purpose is “Luminance HDR”. I don’t have really used this program because it used a lot of RAM to stack a few pictures together. I have 8 GB of RAM, which should be sufficient though. Maybe “Luminance HDR” works on your machine better :)

Therefor I will be waiting for Corel to release the update for creating HDR’s in “AfterShot Pro 2”, because I didn’t find a better solution than “Luminance HDR” on Linux yet.
Getting started with OpenFOAM

Some notes before we start …

OpenFOAM is an open-source CFD (computational fluid dynamics) toolbox, which you can use on your GNU/Linux machine. To get started with OpenFOAM you can read the documentation on the website and/or run tutorial cases. For every solver there are several tutorial cases which you can run on your PC. However you probably need to know more to set up your own simulations. First of all some general information on CFD. Every Simulation consists of several steps, you have to go through, before you can view your results. These steps are:

  • Preprocessing
  • Solving
  • Postprocessing

Preprocessing includes building the CAD geometry and deciding on the boundary conditions (BC’s). It means that the CAD geometry will be meshed, which means the surface of the CAD geometry will be used to create an underlying grid, representing your original geometry features. On this grid/mesh the solver calculates the values for the several transport equations (mass, motion and energy). This is meant by the term solving. With the mesh the equations of motion, energy and mass are solved on each grid point. Meaning the more grid points one has (a finer the mesh) the longer it takes to solve the simulation, but also a finer mesh may result in a more accurate solution. Problem is: An accurate solution depends on your mesh (quality and size), algorithms, included simplifications (make your case solvable but inaccurate because you just can’t account for everything).

One example of such a simplification is turbulence. This is a really complex physical process where eddies (velocity fluctuations) of any size occur in a flow field. The physics behind it are not yet fully understood and therefor mathematical models are necessary to simplify this process. Since these eddies range from really small (microscopic) to really large (macroscopic) the requirements on the mesh are extreme to simulate very tiny eddies (DNS – Direct Numerical Simulation). One can account only a range of eddies by applying a filter (LES – Large Eddy Simulation). It is also possible, since turbulence is a highly transient process, to average over time (RANS – Reynolds Averaged Navier Stokes) and therefor reduce the equation of motion by several unknowns, the velocity fluctuations. But enough from turbulence … for now :)

After the solving of the problem you get values for p, U, T (depending on the solver) …

p: Pressure
U: Velocity
T: Temperature

on every grid point. In Postprocessing these values can now be plotted as scalar fields (p, T) or vector fields (U). For postprocessing the tool “paraFoam” (which is Paraview) is included in every OpenFOAM installation. It lets you process the data from the time folders (0, 5, 10 etc.) very easily. Contour plots, surface plots of scalar or vector fields, vector plots (glyphs), slices … you name it. Many filters will help you sort your data, clip and modify data.

There are 3 default folders in every case folder:

  • 0/
  • constant/
  • system/

The folder “0” includes all boundary conditions or initial conditions for your simulation. In “constant” are the properties of the fluids, solids, porous media stored as well as the value of the gravitational vector “g”. Inside this folder you’ll find another folder “polyMesh” which includes the data of your mesh (points, faces etc.). In “system” the properties of the solution algorithms (fvSolution, fvSchemes) and properties of the simulation are stored in the “controlDict”.

Creating a mesh with blockMesh

(to be continued)

How to install ‘dhcpd’ on FreeNAS 9.1.1

You can run a DHCP server on your FreeNAS installation through the following steps:

  • Log in as root through SSH on your server:
  • $ ssh root@192.168.1.100

  • Remount the root file system with write permissions:
  • # mount / -uw

  • Install the current package (added in 2014) for the DHCP server:
  • # pkg_add -r isc-dhcp43-server

  • Copy the DCHP executable to the following directory:
  • # cp /etc/local/rc.d/isc-dhcpd /conf/base/etc/local/rc.d/

  • Create the configuration file for the DHCP server in e.g your home directory and copy it to the following directory:
  • # cp /home/$USER/dhcpd.conf /conf/base/etc/local/

  • You can now reboot your NAS in order to mount the root file system read-only again. After the successful boot log into your NAS once again as root and create a database for the client leases:
  • # touch /var/db/dhcpd.leases

  • Finally start the DHCP server with:
  • # dhcpd

These two last steps have to be done after every reboot but since a NAS is always online it shouldn’t hurt. If you didn’t encounter any problems you can now assign a static IP to your NAS either via the web interface or through SSH:

# ifconfig re0 192.168.1.100 netmask 255.255.255.0 broadcast 192.168.1.255

Firefox and the Tale of a Dark KDE Color Scheme

I was tired of the default Oxygen Color Scheme, it’s too bright when working at night :) So I went to the system settings of KDE and switched to ‘Obsidian Coast’, which is a dark Color Scheme that looks really nice. However this change has an impact on non-KDE applications like Firefox and Gimp as well.

Firefox’s location bar looks something like this when using a dark KDE Color Scheme:

Image

I want to show you what to do for the location bar to look like this again:

Image

There are several option to change Firefox’s appearance:

  • Create a file in ~/.mozilla/firefox/XXXXXX.default/chrome/userContent.css and define the default colors there.
  • Remove files with the name ~/.gtkrc* every time you log into KDE.

The best option is in my opinion:

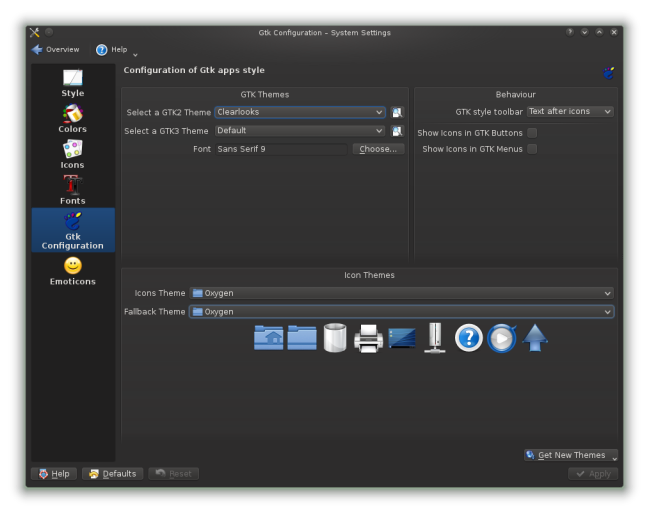
  • Go to System Settings > Application Appearance > Gtk Configuration.
  • Under GTK Themes select for example Clearlooks as GTK2 Theme. Do not use oxygen-gtk, which causes the problem with the location bar.

In openSUSE you’ll find these GTK Themes with:

$ zypper search gtk2-themes

You don’t want to install: gtk2-theme-oxygen

Image

Working with GNU/Linux

I have made experiences while working with Windows and GNU/Linux. I can say that its a pleasure using GNU/Linux for writing papers for the university, programming, reading and writing emails, programming, searching the web … and lots more. Now I want to explain why I think GNU/Linux its more comfortable for doing any kind of work. First of all you don’t have the usual problems like the fragmentation of your HDD, viruses & spyware and network security problems, bluescreens, rebooting after every important update.

On GNU/Linux exist different problems but those are not essential for your working experience, imho. You may encounter incompatibility issues with the newest hardware because of the lack of drivers (that’s the fault of the hardware manufactures).

However, essential for working is that you have a fast and stable OS which is secure on the network and doesn’t reboot by itself. GNU/Linux stays fast even after several years of service because no real fragmentation of the HDD and you don’t have to reboot after an update. Something which was really annoying is that every out-of-date program on Windows is telling you to download and install the latest version of the software. On GNU/Linux you go to your “update-manager” and install every available update at once — no annoying pop-ups anymore!

GNU/Linux handles software updates and installations through the “package manager”. This is really comfortable for fast and easy updating and installing software. You even can upgrade your GNU/Linux to the latest release through that.

One important thing is also that if you install a new GNU/Linux (from a dvd) there are a lot of programs already installed. You don’t have to install any driver (only maybe a proprietary graphic card driver). Your system is ready for work after a fresh install.

Some of the programs I am using right now:

My current operating system is openSUSE 12.1 KDE.

Still you may have made/will make different experiences working with GNU/Linux. I just want to let you know what I have experienced :) … I still love it!

All these facts about GNU/Linux should tell you, that this operating system gives you more time to take care of important stuff like things you have to do for work. You need less time to take care of your OS, because it does that by itself!

Using the alias command under GNU/Linux

Sometimes when you use the BASH Shell under GNU/Linux it happens that you have to use the same command many times and you don’t want to look in your history every time. With history and a pipe to grep you can find your command really quickly to use it again. For example you want to find the last mount commands in your history you use:

$ history | grep 'mount'

However if you are using the same command frequently and you want it to give this particular command an alias. You set the new alias with

$ alias pictures='cd ~/Pictures'

To find out which aliases are already defined just type

$ alias

REMEMBER: After starting a new session this alias won’t be available anymore. If you want to set permanent aliases you just write them in your ~/.bashrc.

alias pictures='cd ~/Pictures'
alias vi='vim'
alias ..='cd ..'

If you want to remove an alias because you don’t use it anymore you can do that with unalias.

$ unalias pictures

I think that alias is a really useful bash command which can save time because you have to type less.

Plakate für die FluX

Marcus und ich haben uns überlegt, 30 Plakate in A4 zu drucken (Stammtischplakate) je 15 von der deutschen und englischen Version. Und 4 in A3 welche eher allgemein über die FluX sind und lediglich Interesse wecken sollen.

… Falls ihr die SVG oder PDF Dateien braucht, die könnt ihr von mir bekommen!


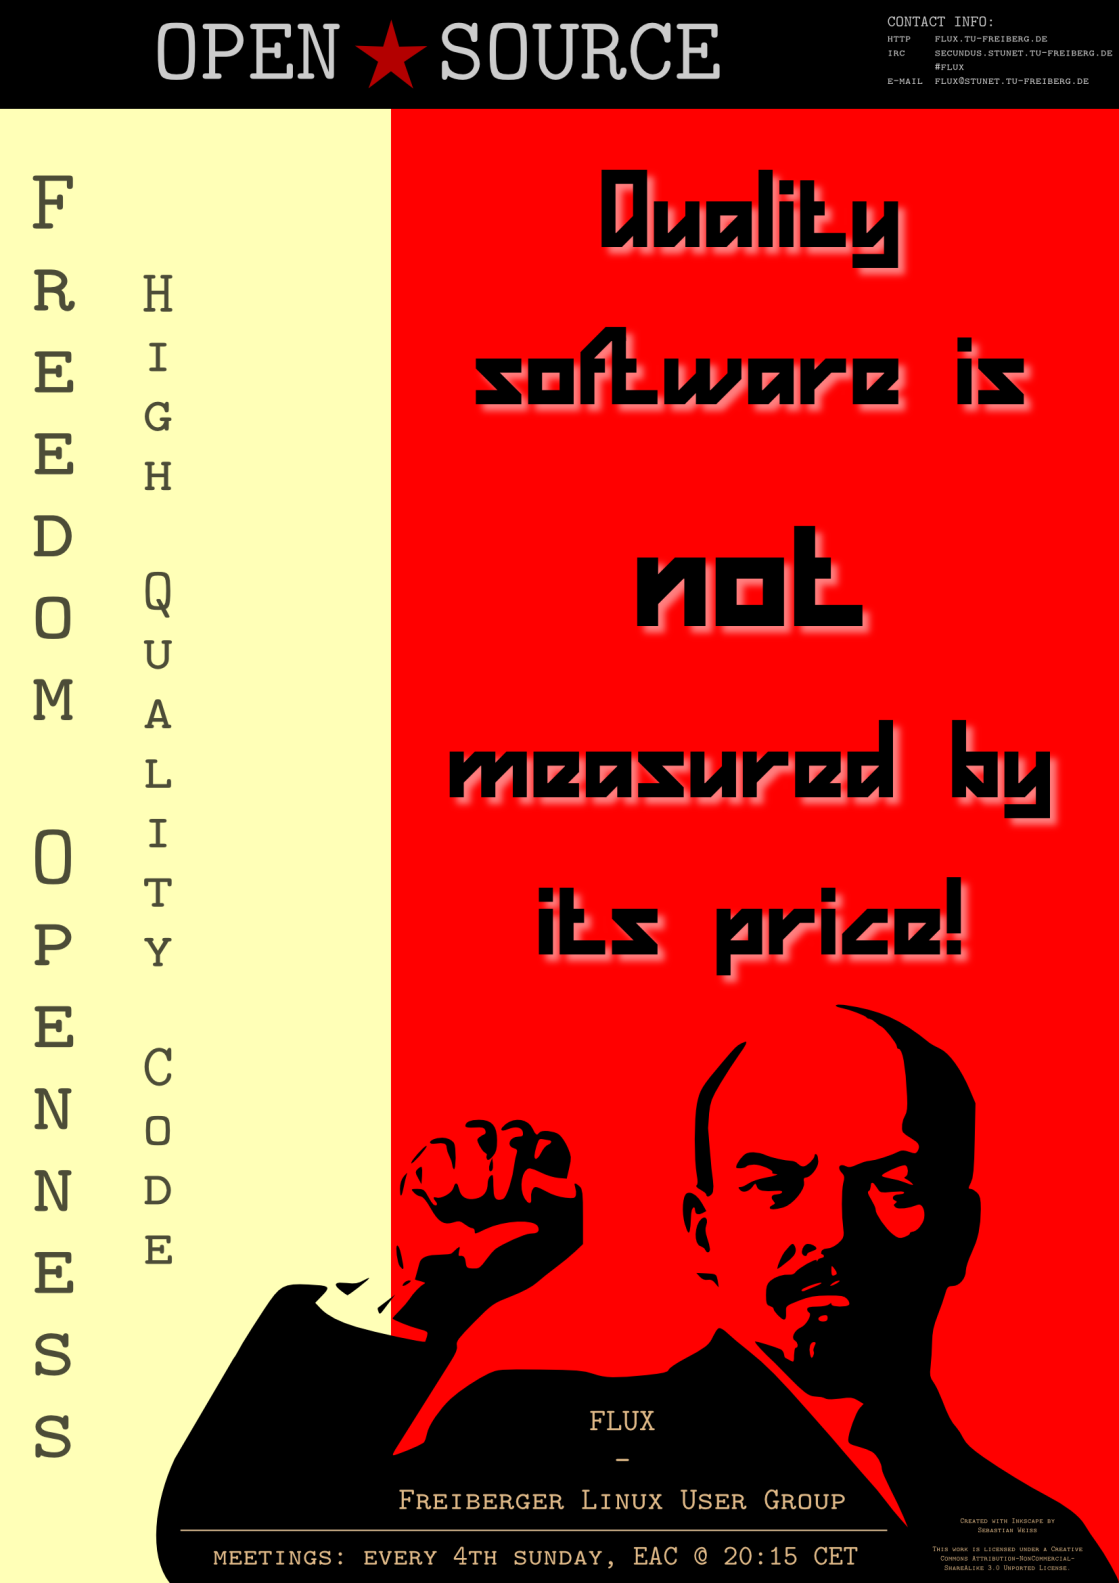
Das ist ein allgemeines OpenSource Plakat im UDSSR Stil:

Autor: Sebastian Weiss

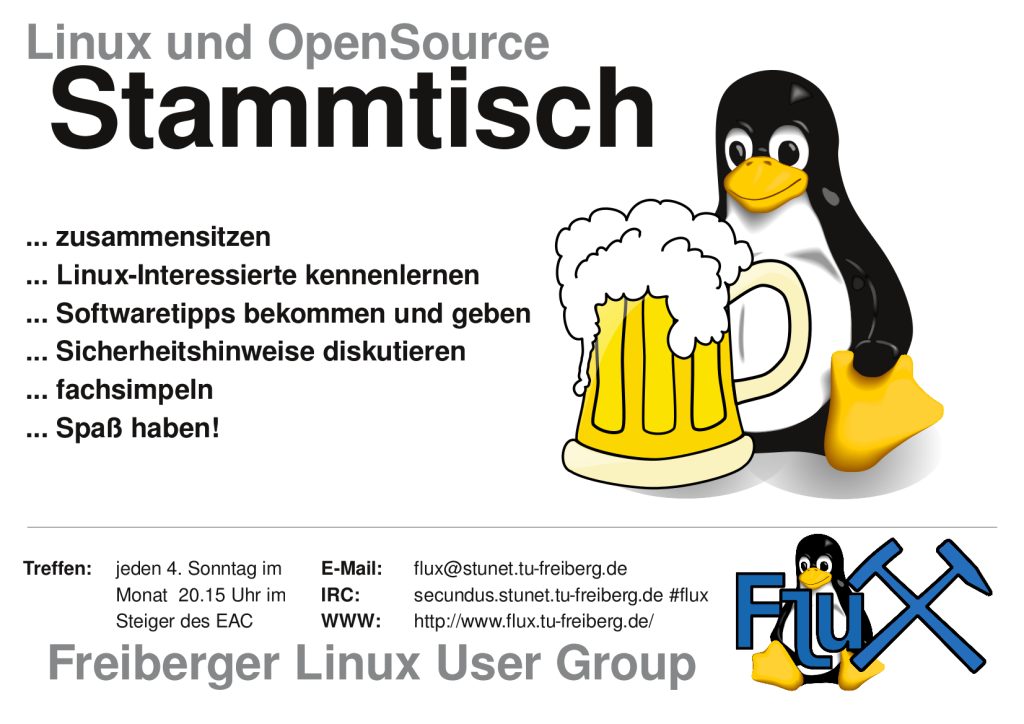
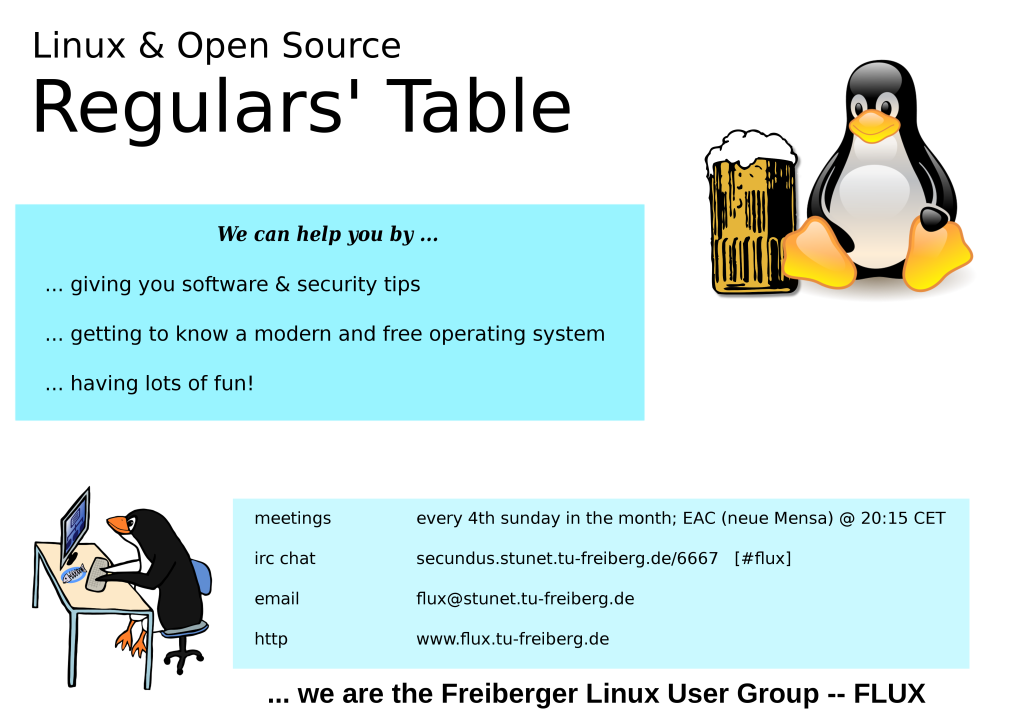
Stammtischplakate:

Autor: Marcus Herbig

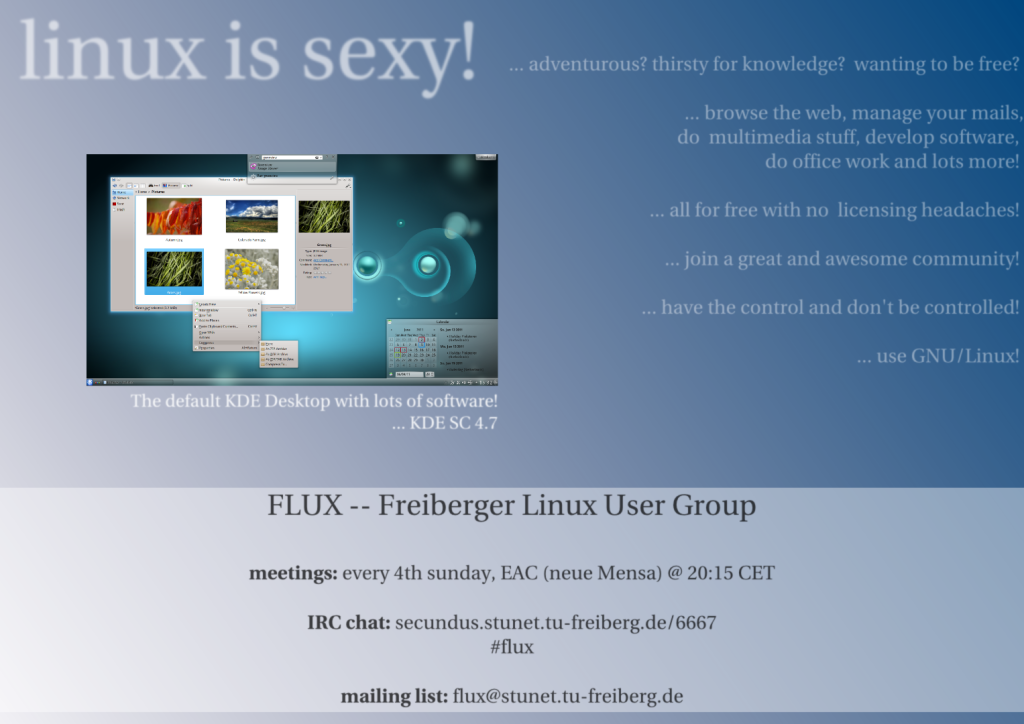
… und dieses hier:

Autor: Sebastian Weiss

Von diesen zwei könnten 4 Stück in A3 gedruckt werden:

Autor: Sebastian Weiss

… und

Autor: Sebastian Weiss