Time to clean the image sensor, isn’t it?

I have my new Nikon DSLR for some time now. You would expect that the camera is clean when comes out of the factory, but there are many people having this problem with new Nikon cameras. Some write about oil drops or dust on their camera sensors. Apparently the oil from the mirror lifting mechanism can be spilled onto the sensor when the camera is rather new. Oil drops are visible on the picture as small bright spots with a dark ring. How is dust going to appear on the picture? I’ll show you. There are several spots visible on the image below. The problem with these spots is, that you won’t see them if you don’t look for them! That’s why I didn’t see them earlier.
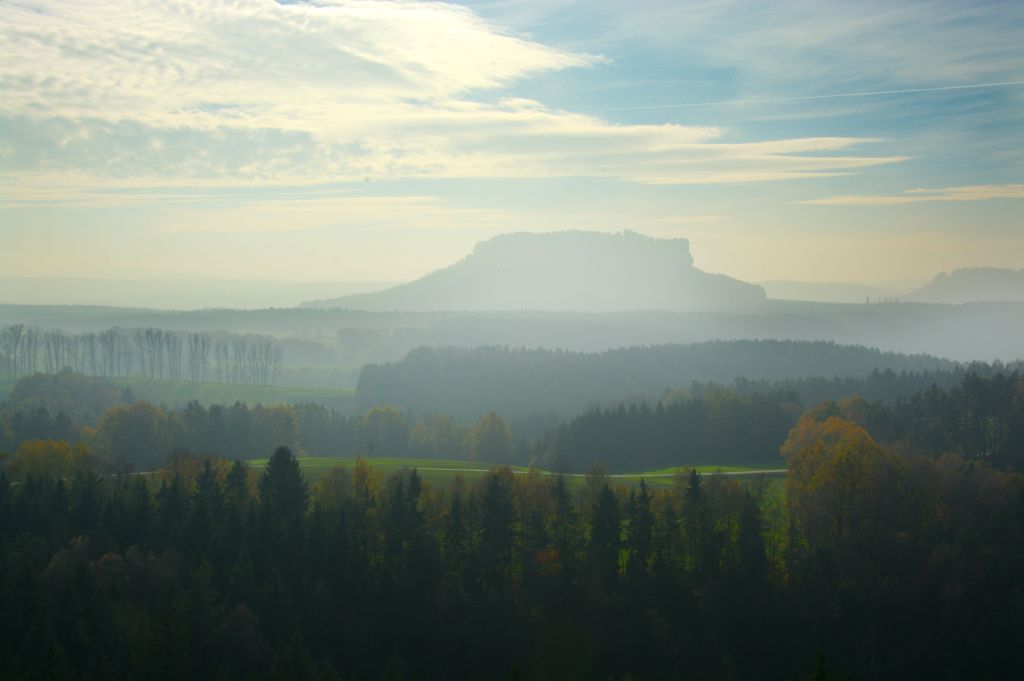
Image with dust spots.

Now I’ve highlighted the dark spots where you can see that there is dust on the sensor. Some of them are clearly visible, some are rather hard to find. That’s the reason that you really have to look for them in order to see them.
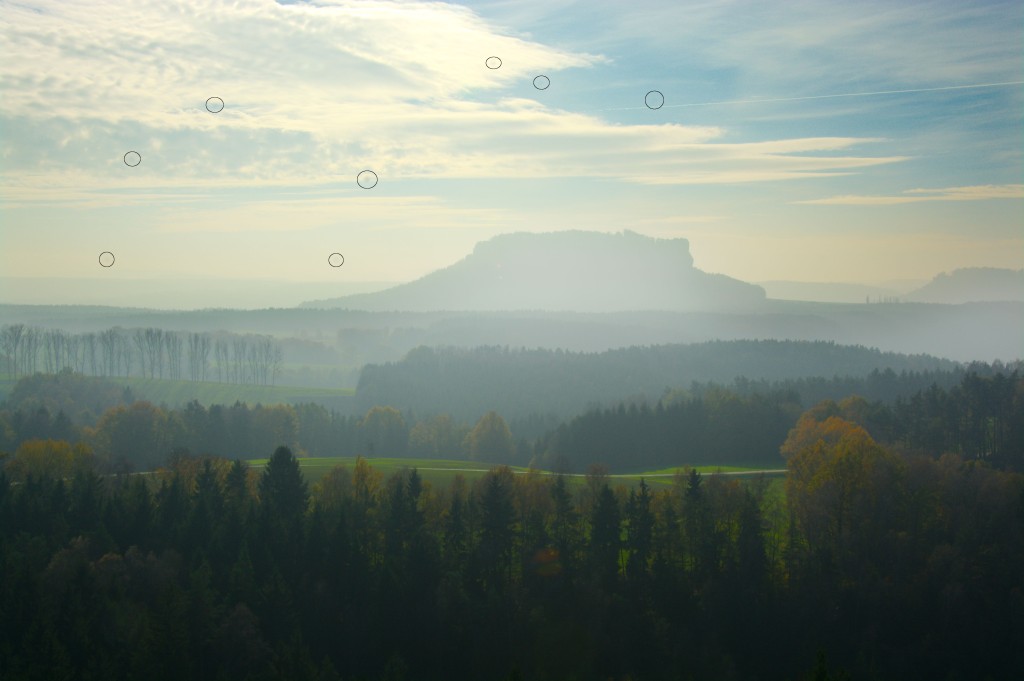
Highlighted dust spot on the image.
Highlighted dust spots on the image.

With the help of GIMP’s healing tool the spots can be removed pretty easily and quickly.
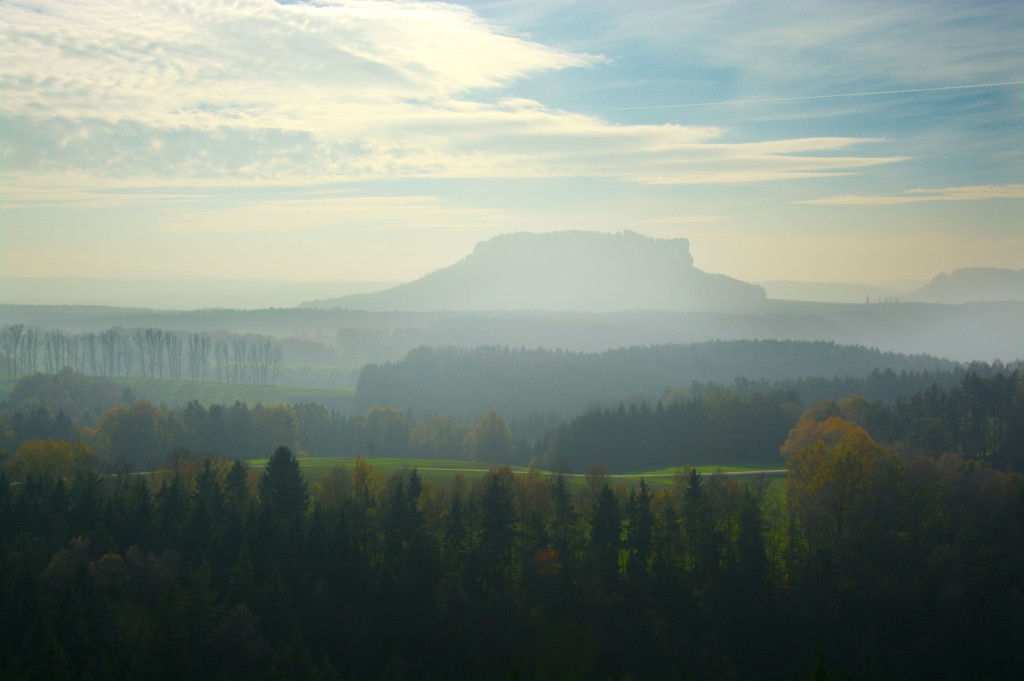
Dust spots removed from the image with GIMP's healing tool.
Dust spots removed from the image with GIMP’s healing tool.

So how can you get rid of these spots once and for all? Clean the image sensor with a dust blower. For that you have to go into cleaning mode, then the mirror raises and you are able to clean the image sensor.

Never touch the sensor or the mirror with your finger or a brush! This will scratch the sensitive surfaces! If you see oil spots on the image, go to a service point and let them clean your sensor professionally.

Removing lens flares from photographs

There is a easy trick on how to get rid of lens flares in photographs. These flares occur when light rays are refracted at small angles and inhomogeneities in the glass lead to internal reflection or scattering. On an image with lens flares you see colorful dots and I want to show you how to remove these with Gimp.

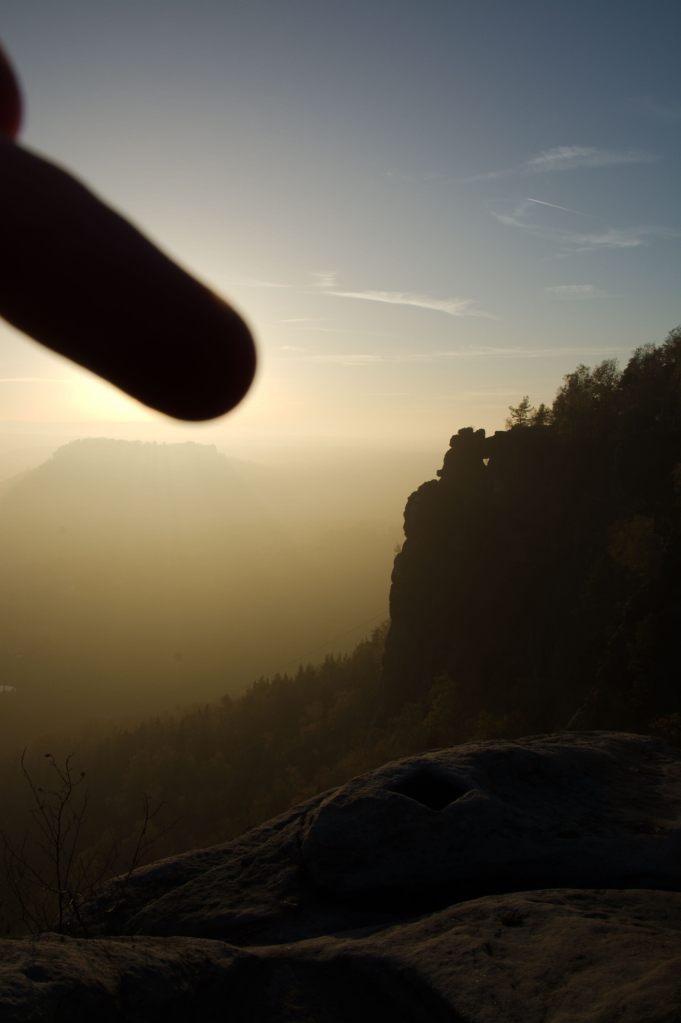
In this example I have taken two pictures of the same object, looking directly in the sun. Both photographs were taken with the same exposure settings. On the first picture there are lens flares on the right side. The second picture has no lens flares because i covered the sun with my finger. Have a look at these two pictures.

Photograph with the lens flare
Photograph without the lens flare

Now with these two photographs we go into Gimp and open up the second image where the sun is covered and open the first one as layer. We need to work with these layers in order to remove the lens flare. There should be two layers now, the image where the sun is covered is under the flare picture. Add a layer mask to the first image (the one on top with the flare).

Adding a layer mask to the picture with the flare

Make sure the mask is currently selected (there needs to be a white border around it) and take a brush with a size of maybe 80 and paint the area of the flare black. The areas where the mask is black will be fully transparent and than the image under the current layer (without the flare) is visible. When finished with the image, export it or save it as … and it should something like this example below.

Final photograph exported from Gimp with the sun fully visible but without any lens flares

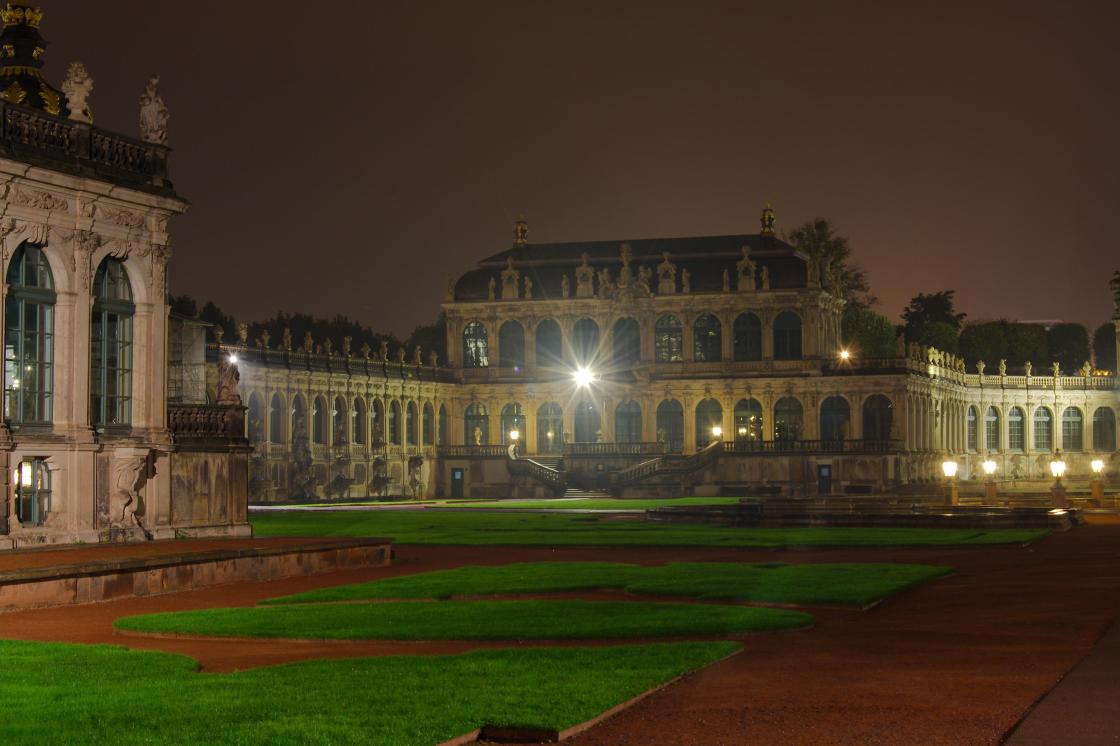
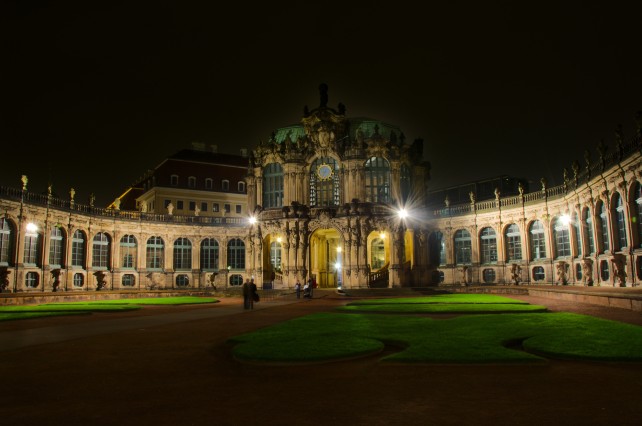
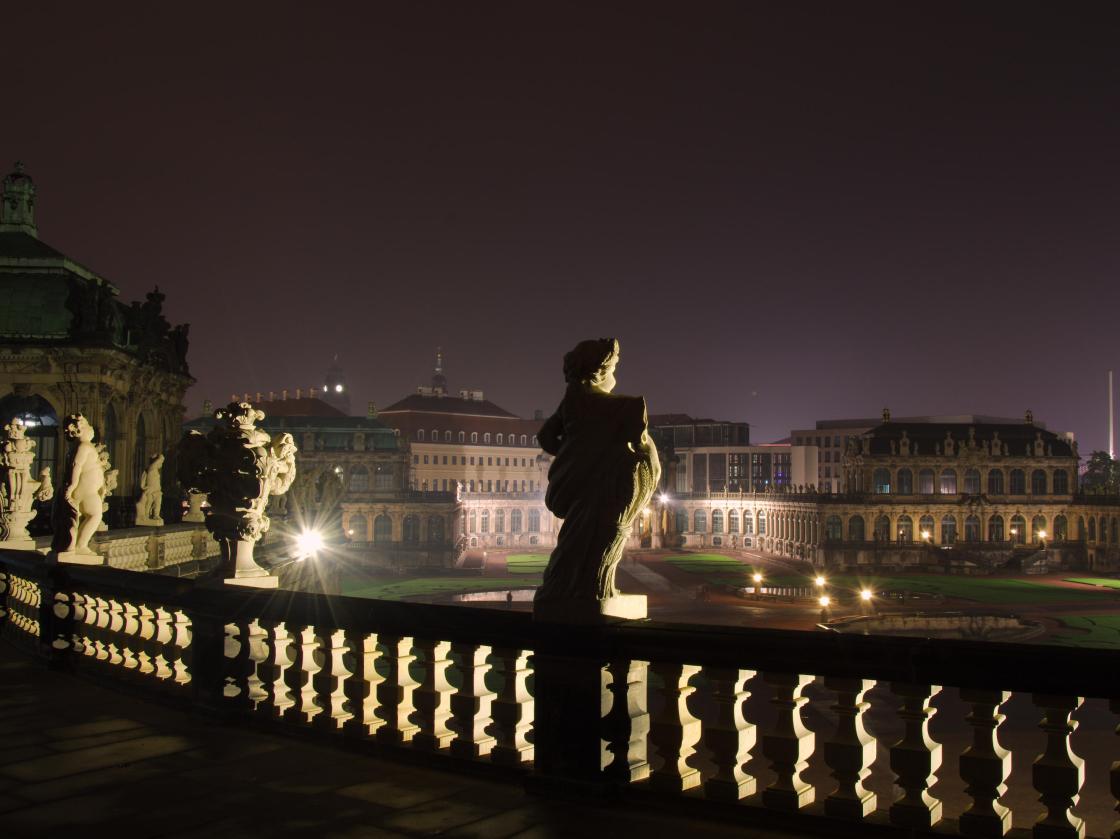
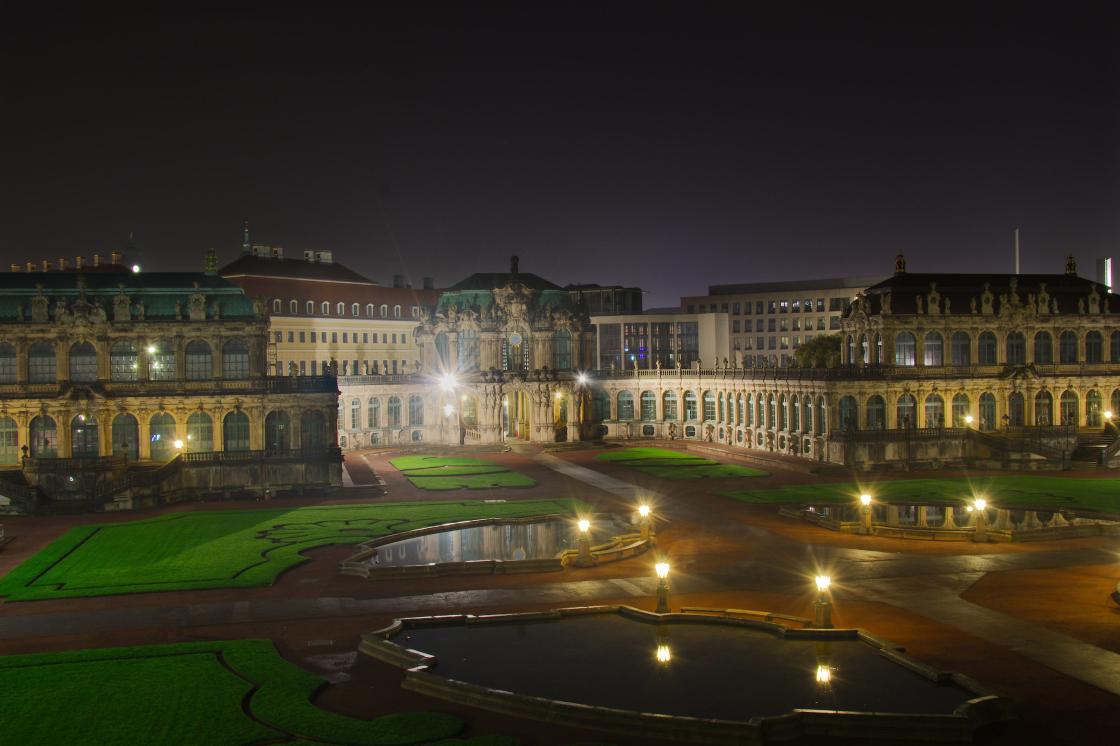
Dresden dans le noir

_DSC1486
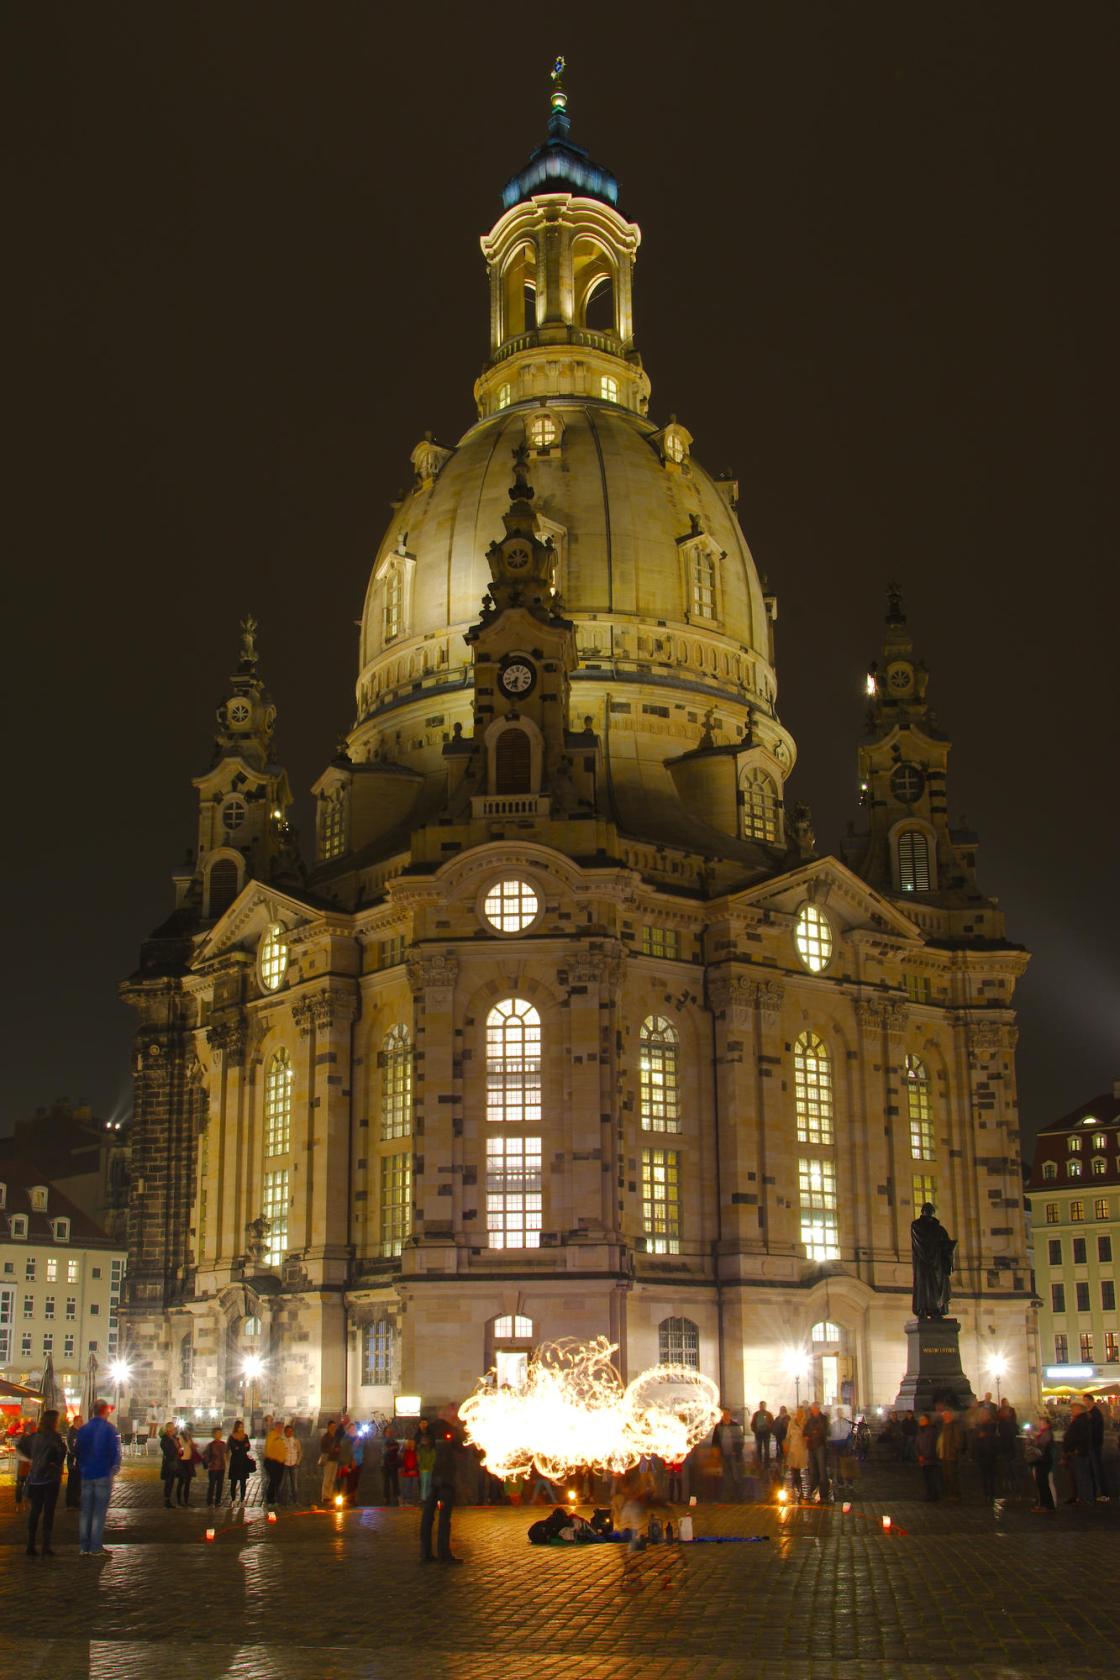
Frauenkirche


_DSC1487
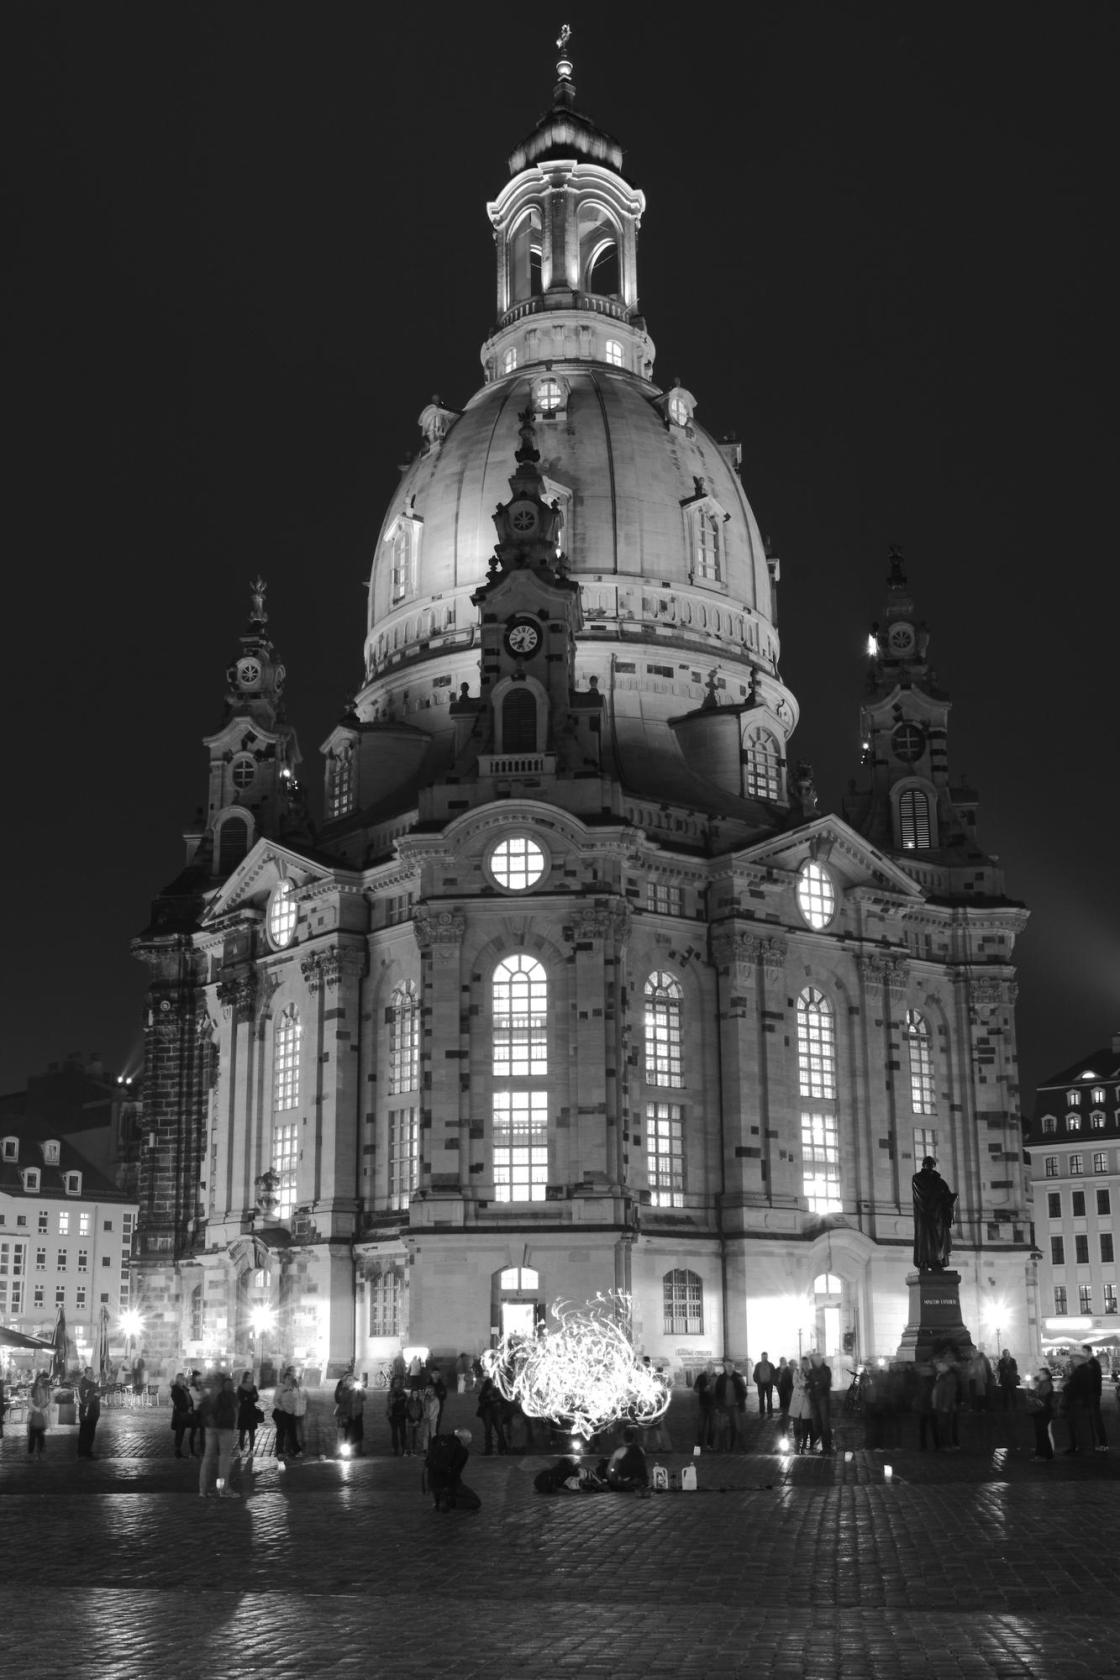
Frauenkirche, B&W
_DSC1503
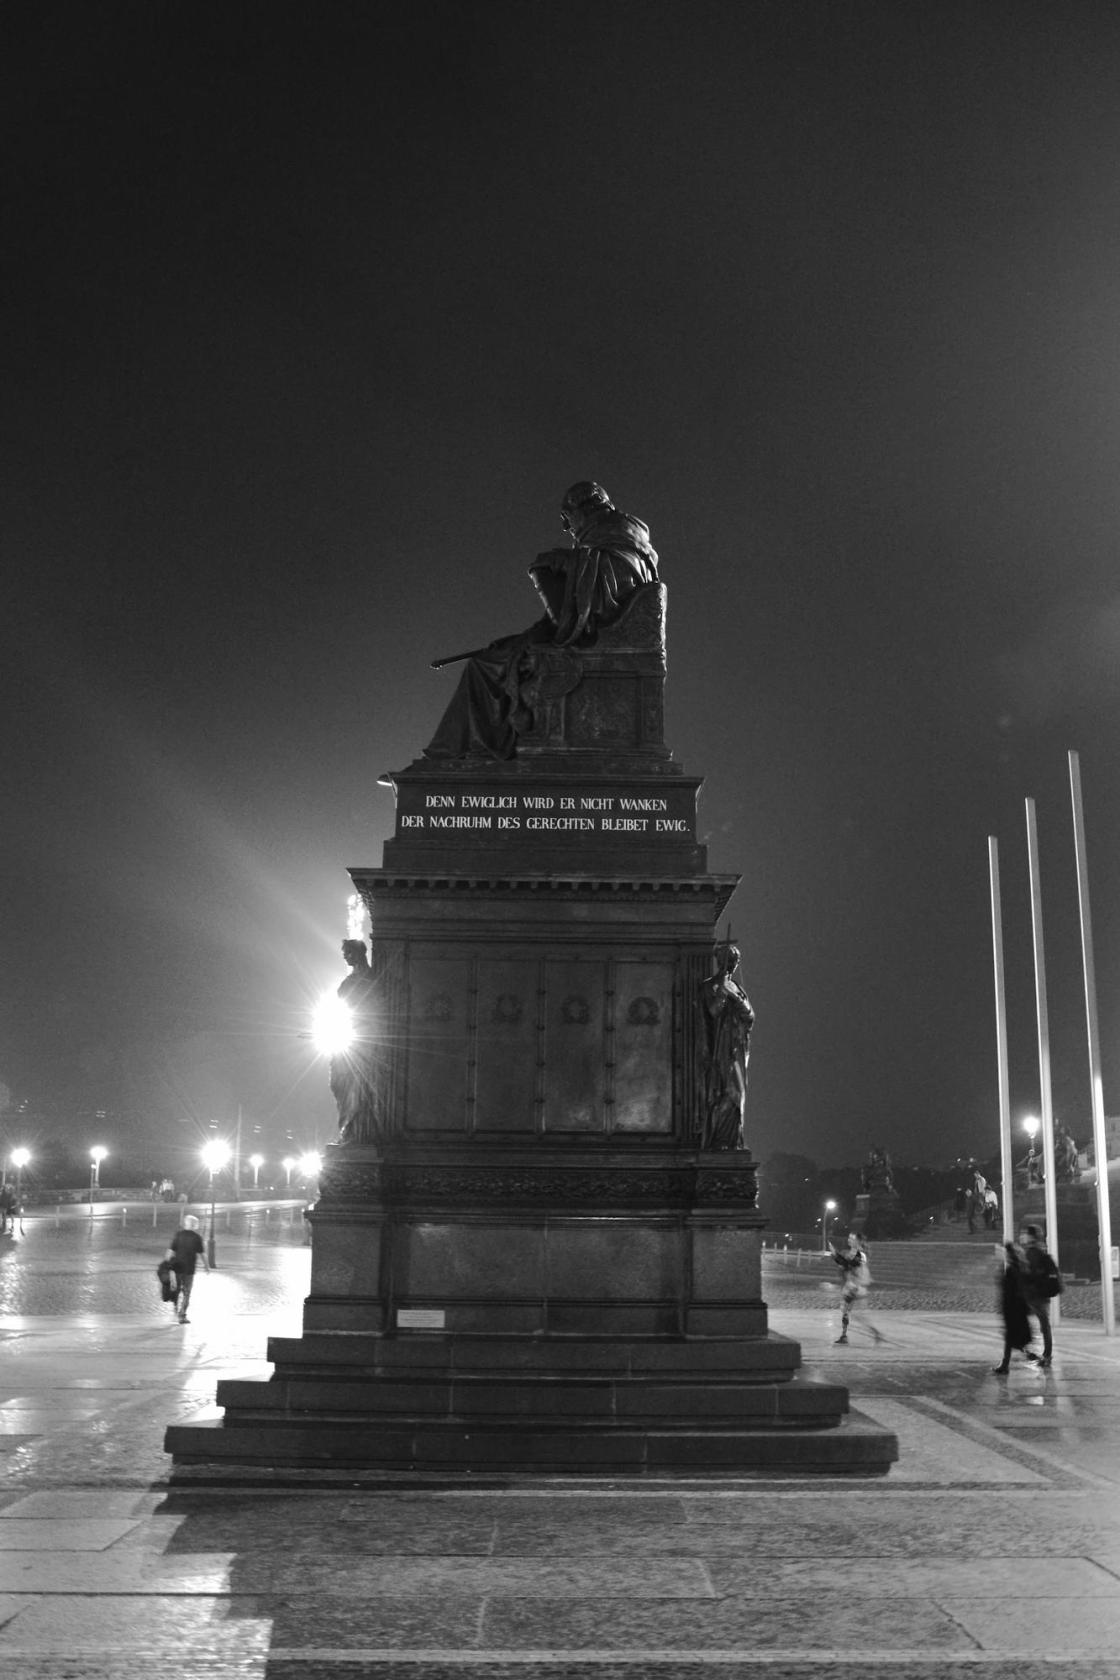
Denn ewiglich wird er nicht wanken der Nachruhm des Gerechten bleibt ewig.
_DSC1511
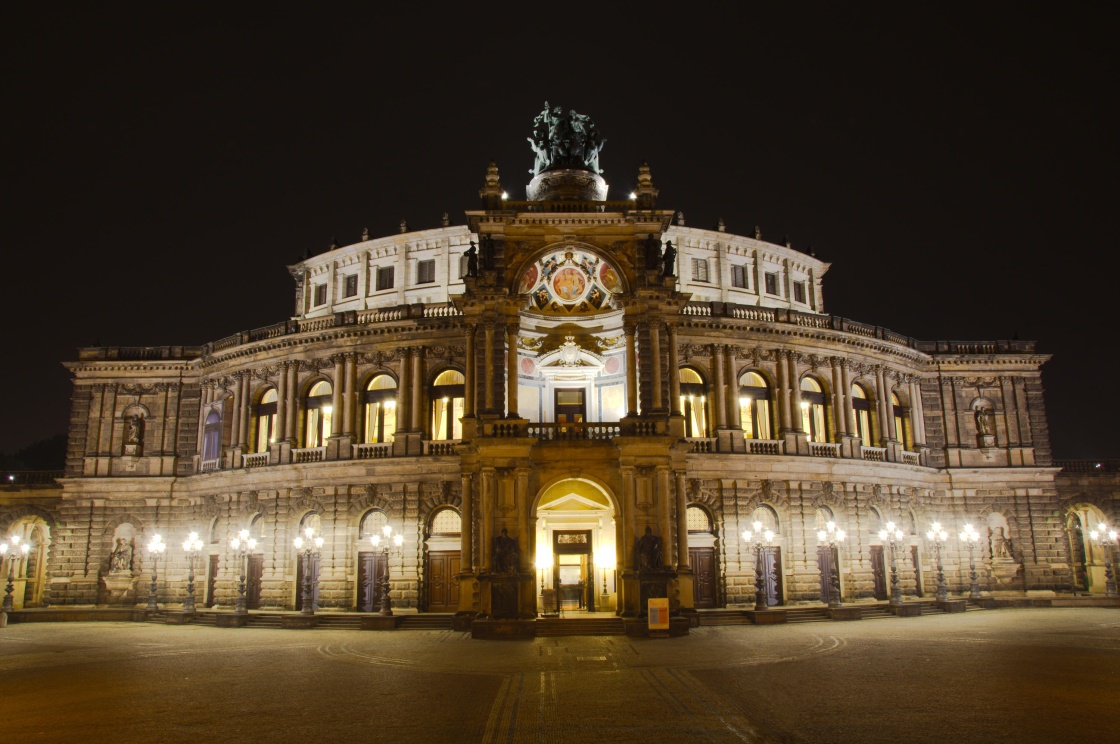
Semperoper
_DSC1520
Im Innenhof des Zwingers
_DSC1512_1
Im Innenhof des Zwingers
_DSC1523
Im Innenhof des Zwingers
_DSC1530
Im Innenhof des Zwingers
_DSC1532
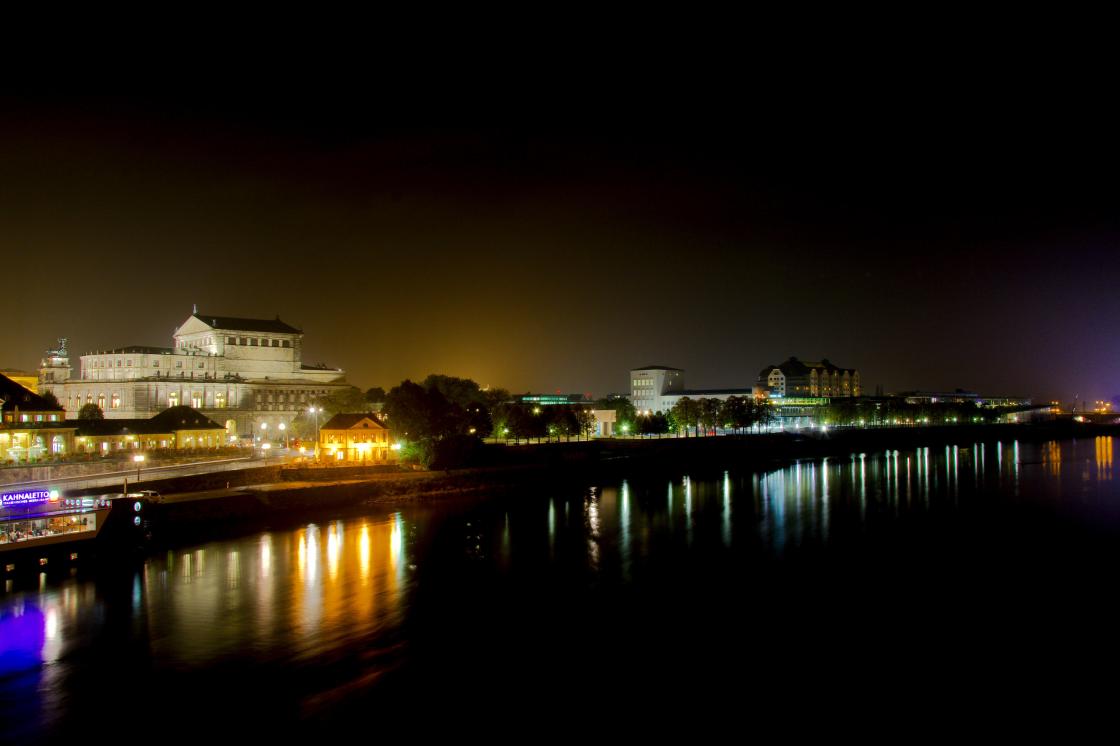
Elbeufer in Richtung Altstadt mit der Semperoper auf der linken Seite
_DSC1540
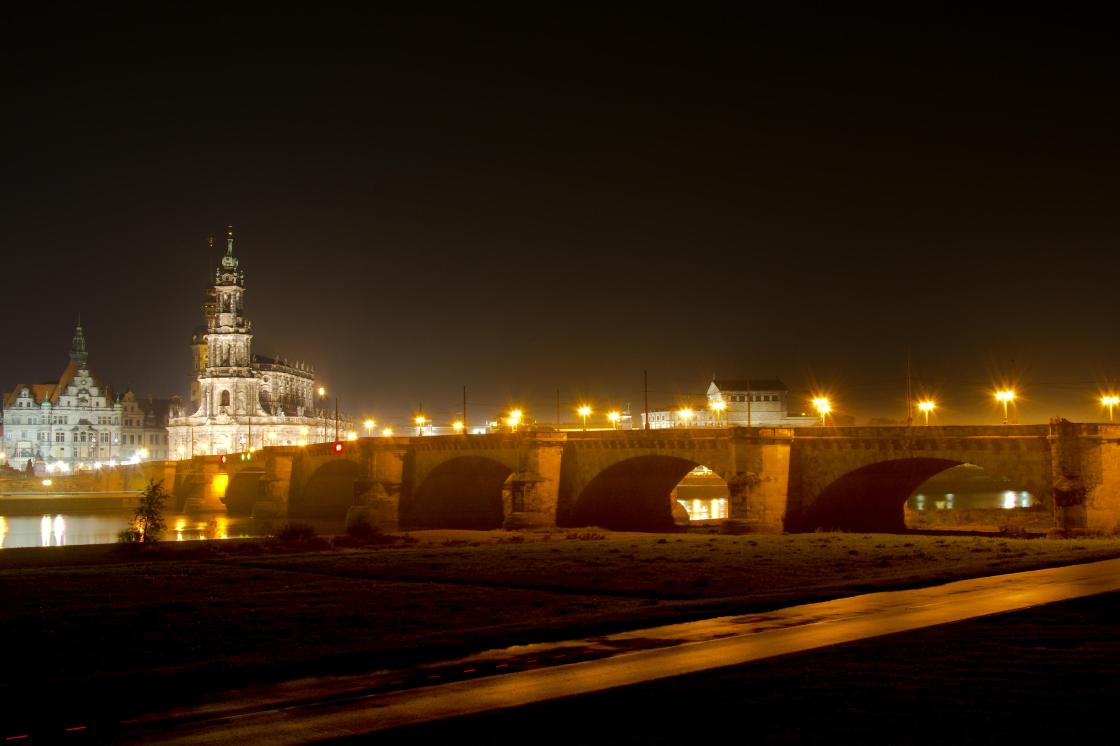
Altstadt auf der anderen Elbseite

Creative Commons License
This work is licensed under a Creative Commons Attribution-ShareAlike 4.0 International License.

Photography workflow on Linux

Recently I acquired a Nikon D7100 DSLR. With this nice camera I was able to shoot in RAW (uncompressed and unprocessed photo file format) and I needed a good editing tool for those files. Since these files come unprocessed from the camera’s sensor, I need to do the photo editing like setting the contrast, color tones, sharpness etc. on my computer. As you might guess there aren’t many programs for photo editing on Linux on the market. Some of them are open source and some proprietary. However the choice is very limited.

For my photography workflow I need programs for things like

  • organizing & minimal editing (eg. resizing)
  • editing RAW’s
  • creating HDR’s (high dynamic range)

Organizing & minimal editing

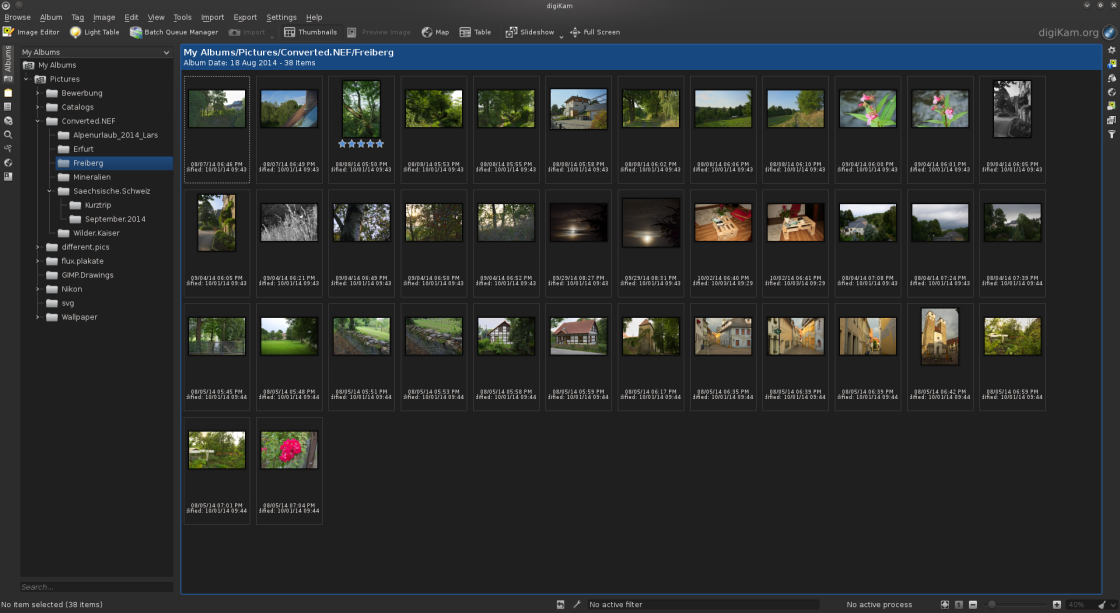
An open source tool for organizing photos is KDE’s digiKam. I can create albums for sets of photos, rate them and do some editing, resizing as well. I can look at pictures taken at different locations (GPS map) or dates (calendar) and the program sorts them accordingly. digiKam not only lets me view JPG but also RAW files and with this program I can easily download the pictures from my camera.

screen_digikam
KDE’s photo editing software “digiKam”

Editing RAW’s

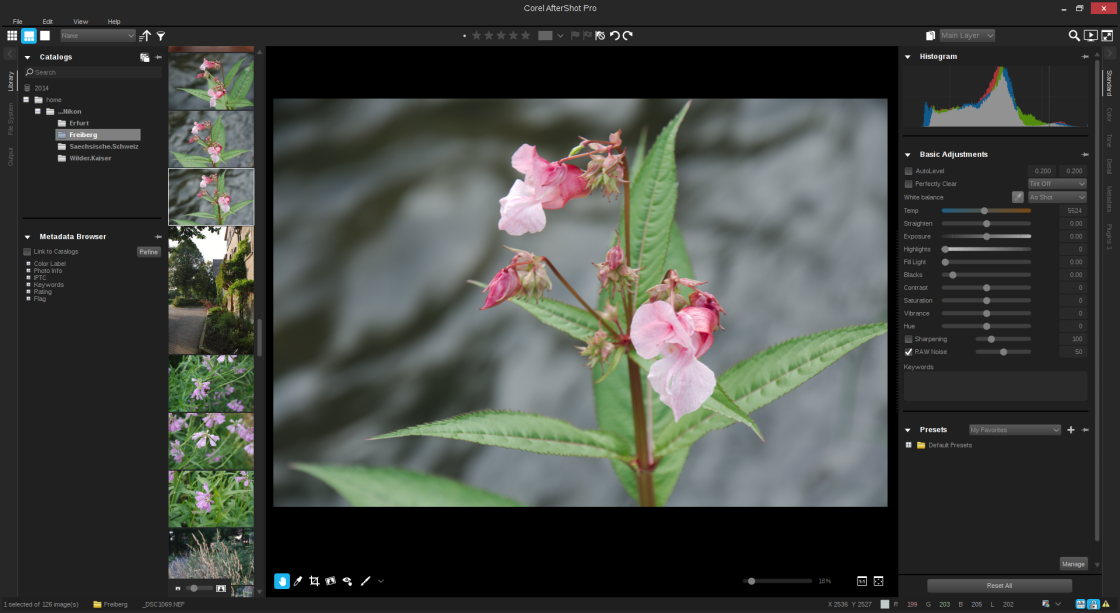
For RAW editing I currently use two. One is the proprietary program “Corel AfterShot Pro 2” and the second one is the open source alternative “RawTherapee”. Both have many features for editing RAW and I get really great pictures with both of them. Also a rating and sorting / tagging feature can be found in both.

“Corel AfterShot Pro 2” may have some better sorting mechanisms and algorithms for editing sharpness of the photo. However someone can also create awesome shots with “RawTherapee”. I for example find the queue manager better in the open source program. However I like them both and since “Corel AfterShot Pro 2” is also available on Linux for around 50€ I can and will use them both. Another thing is that a HDR editing feature will come out soon. This gives me a program for sorting, editing and creating HDR’s all in one.

Corel AfterShot Pro 2. Property of Corel.

Creating HDR’s

A real HDR is created by stacking several photos of different exposures together to create a final photo with high contrasts in shadow as well as bright areas. An open source tool for that purpose is “Luminance HDR”. I don’t have really used this program because it used a lot of RAM to stack a few pictures together. I have 8 GB of RAM, which should be sufficient though. Maybe “Luminance HDR” works on your machine better :)

Therefor I will be waiting for Corel to release the update for creating HDR’s in “AfterShot Pro 2”, because I didn’t find a better solution than “Luminance HDR” on Linux yet.